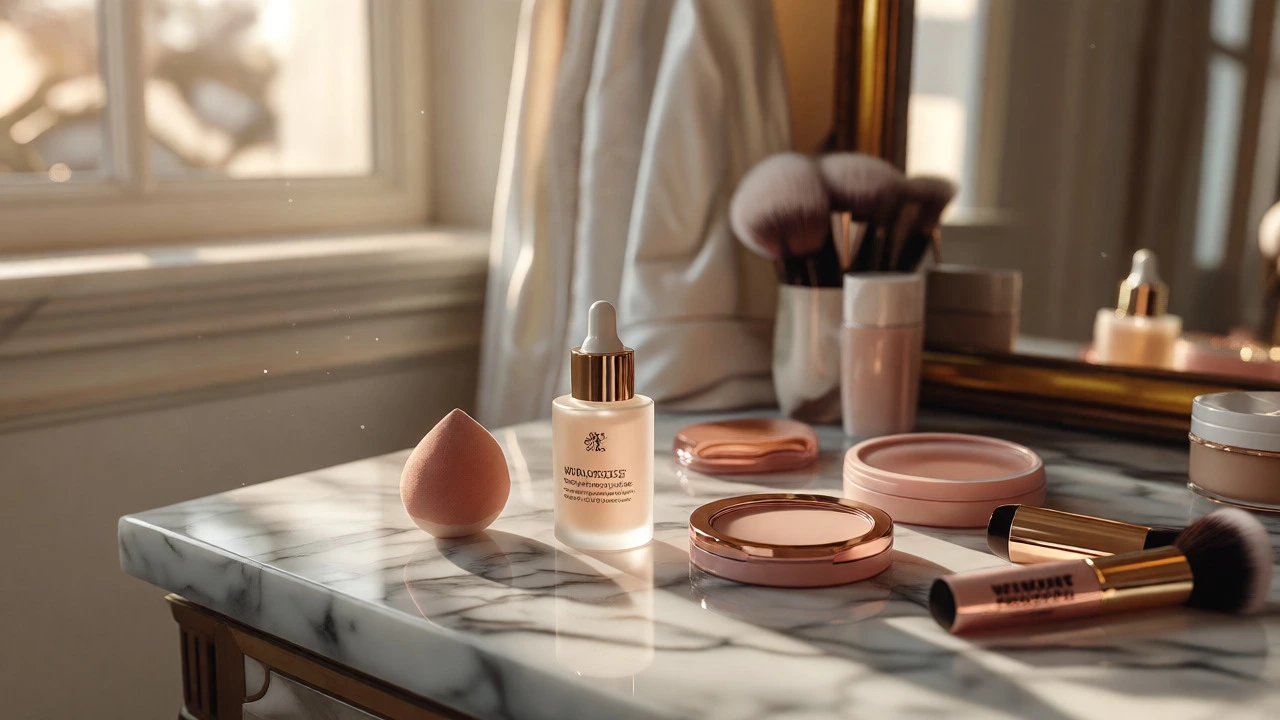
Bridal Makeup Readiness Checklist
Check off each item as you prepare your kit. This tool helps you track skincare foundations, core face products, eye/lip essentials, emergency supplies, and tools.
You’ve picked the dress, tasted the cake, and maybe even cried during a few engagement photo sessions. But here’s the thing that actually shows up in every single close-up photo from your wedding day: bridal makeup. It is not just about looking pretty; it’s about creating a look that survives tears, hugs, dancing, and the harsh flash of photography lights. If you’re scrambling at the last minute trying to remember if you bought setting spray or just hoping your mascara won’t smudge, this guide is for you.
Think of your makeup kit like an emergency survival pack. You need specific tools, products, and prepping steps to ensure you look flawless from the first kiss to the last dance. Whether you’re doing it yourself or hiring a pro, knowing exactly what goes into the bag saves stress and money. Let’s break down the essential components of a complete bridal beauty arsenal.
The Pre-Wedding Skincare Foundation
Before you even touch a brush, you need a canvas that behaves well. Makeup sits on top of skin, so if the base is dry, oily, or textured, no amount of expensive foundation will fix it permanently. Start your skincare routine at least three months before the big day. This isn’t the time to try experimental acids or new brands. Stick to gentle cleansing, hydration, and sun protection.
- Cleanser: A gentle, pH-balanced face wash to remove impurities without stripping natural oils.
- Exfoliant: Use a chemical exfoliant (like lactic acid) once a week to smooth texture. Avoid physical scrubs two weeks prior to prevent micro-tears.
- Misturizer: Look for ingredients like hyaluronic acid to plump the skin. Dry skin makes powder look cakey.
- Sunscreen: Daily SPF prevents pigmentation changes that can make contouring difficult later.
If you have persistent acne or hyperpigmentation, consult a dermatologist early. Trying to cover active breakouts with heavy concealer often draws more attention to them than letting them heal naturally.
The Core Face Products
This is the meat of your kit. For weddings, longevity is king. You want products labeled "long-wear," "transfer-proof," or "water-resistant." Standard daily makeup often fades after four hours, but a bride needs to stay fresh for twelve or more.
| Product Type | Key Feature Needed | Why It Matters |
|---|---|---|
| Primer | Pore-filling or hydrating | Creates a barrier between skin oil and foundation, preventing separation. |
| Foundation | Medium-to-full coverage, matte or satin finish | Must withstand flash photography without reflecting too much light (avoid dewy finishes). |
| Concealer | Oxidation-stable | Prevents under-eye circles from turning orange or grey as the day progresses. |
| Setting Powder | Translucent, finely milled | Locks liquid products in place without adding color cast. |
| Blush/Bronzer | Cream or liquid formulas | Better adherence to primer/foundation layers than powders alone. |
Pro tip: Always test your foundation shade in natural daylight, not just under store lighting. Indoor bulbs can make shades look warmer or cooler than they really are, leading to a mismatched neck tone in photos.
Eyes and Brows: Defining the Gaze
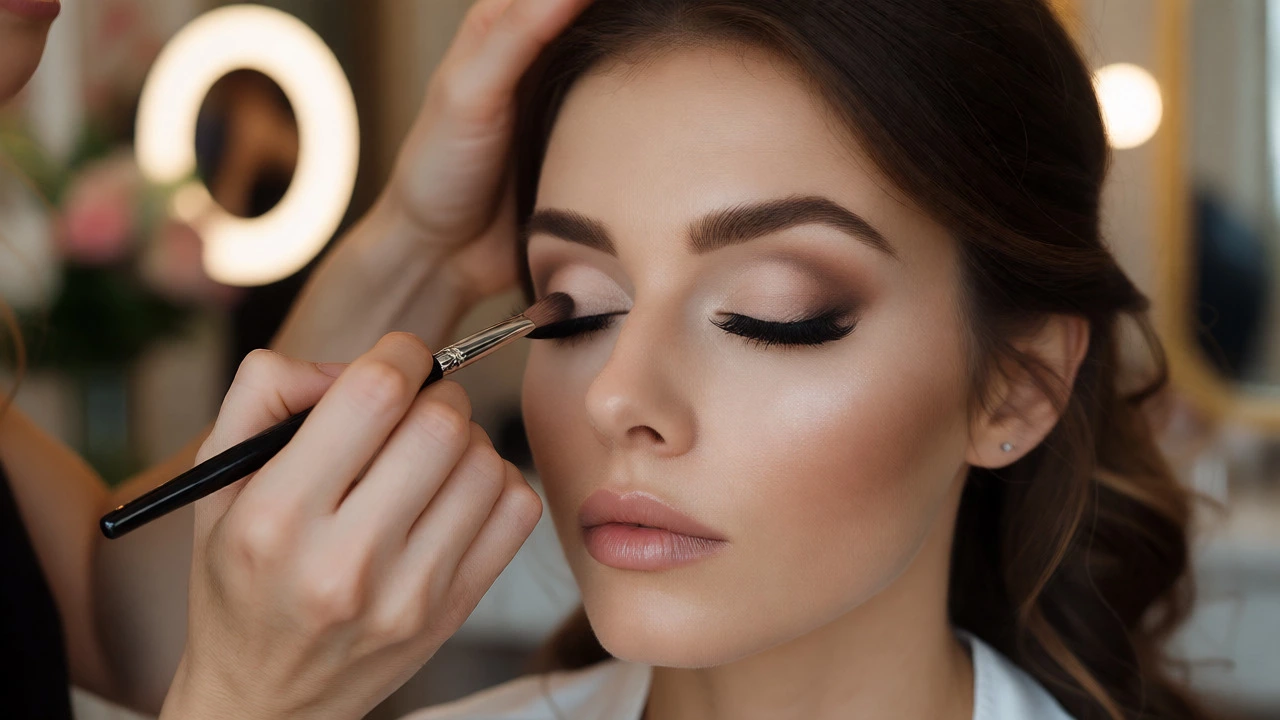
Your eyes are the focal point in most portraits. If your lashes fall flat or your eyeliner smudges into a raccoon mask, the entire look suffers. Waterproof formulas are non-negotiable here. Even if you don’t plan on crying, humidity and sweat happen.
- Eyelash Curler: Clean it with alcohol before use. Curl your lashes *before* applying mascara to avoid clumping.
- Mascara: Choose a waterproof tubing formula if possible. Traditional waterproof mascara can be tough to remove, but tubing masks rinse off with warm water while staying put during the event.
- Eyeliner: Gel liners offer better control and durability than pencils. Black or dark brown provides definition without looking harsh.
- False Lashes: Strip lashes are easier for beginners than individual clusters. Have glue ready, but apply it carefully-never let it get wet until fully dry.
- Brow Gel: Tinted brow gel keeps hairs in place and fills sparse areas. Clear gel works if you prefer a natural look.
Consider the shape of your eyes when choosing eyeshadow colors. Neutral tones like taupe, champagne, and soft browns photograph best because they don’t compete with your dress color or jewelry. Bold blues or greens might look great in person but can appear muddy in high-resolution images.
Lips That Last Through Dinner
You’ll be eating, drinking, and kissing. Your lipstick needs to survive all three. Liquid lipsticks are popular now, but they can feel tight or flake if not applied correctly. Matte lipsticks tend to fade faster than satin finishes.
Try this technique for lasting power: Apply liner, fill in with lipstick, blot with tissue, dust lightly with translucent powder through a tissue, then reapply lipstick. This "sandwich" method locks color in for hours. Keep a small tube in your clutch for touch-ups after dinner, but avoid reapplying over crusty buildup-blot first, always.
The Emergency Kit: What Goes in the Bag
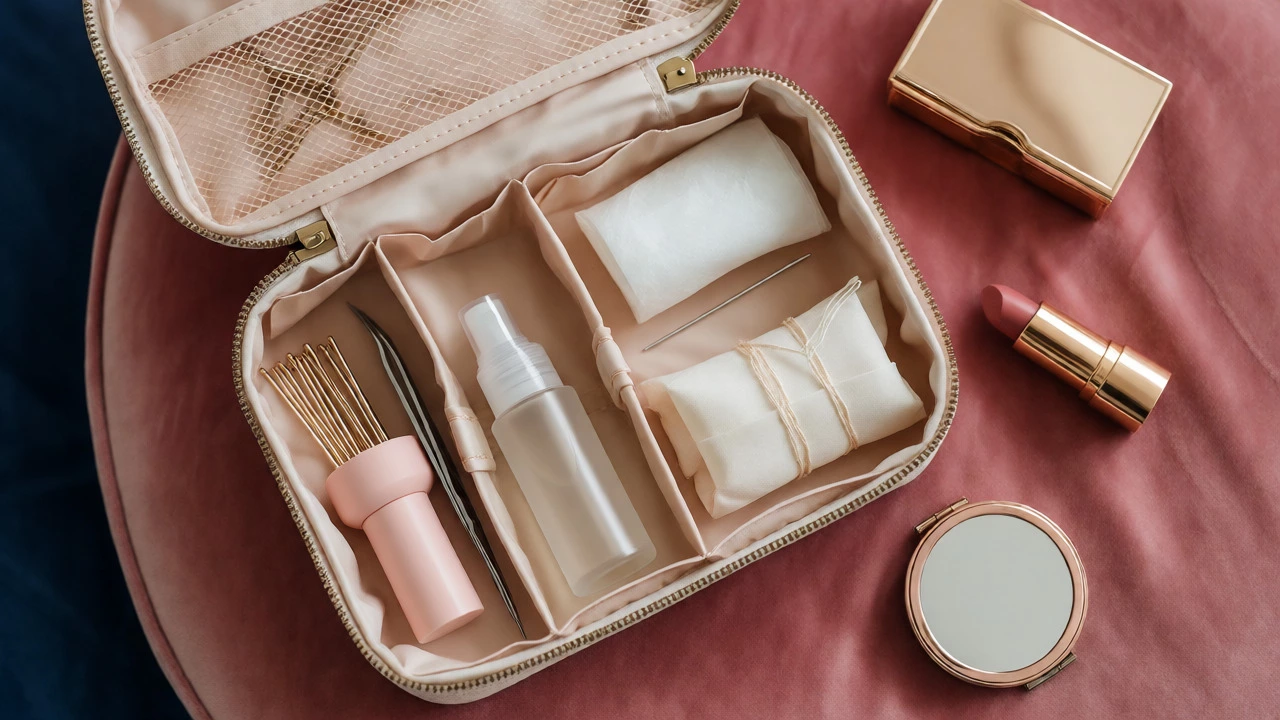
Even with perfect planning, things go wrong. Maybe your veil gets caught in a door, or someone spills red wine near your train. Your emergency kit shouldn’t just hold makeup; it should solve problems.
- Bobby Pins & Hairpins: In various sizes to secure loose strands or fix a slipping veil.
- Fashion Tape: Double-sided tape to keep necklines in place or adjust strapless dresses.
- Stain Remover Pen: For immediate action on white fabric accidents.
- Tweezers: To pluck any stray hairs that popped up overnight.
- Oil Blotting Papers: Press these on your T-zone instead of adding more powder, which builds up and looks thick.
- Mini Setting Spray: A travel-size bottle to mist your face mid-day if it feels too dry or shiny.
- Needle and Thread: Matched to your dress color. Yes, really.
Assign one person-your maid of honor or a trusted bridesmaid-to carry this kit. Don’t leave it in your car or hotel room where you can’t reach it quickly during the ceremony reception transition.
Tools of the Trade
You can buy the best foundation in the world, but if you apply it with dirty fingers, it won’t blend well. Brushes matter. Invest in clean, high-quality brushes specifically designed for cream and liquid products.
- Damp Beauty Sponge: Bounce motions press foundation into the skin for a seamless finish. Never drag it across the face.
- Flat Kabuki Brush: Great for buffing powder products evenly.
- Angled Brow Brush: Precise application for filling in brows.
- Lip Brush: Allows for sharper edges and cleaner lines than applying straight from the bullet.
Clean your brushes at least a week before the wedding. Dirty brushes harbor bacteria that cause breakouts right when you need clear skin most.
Common Pitfalls to Avoid
Many brides make mistakes that seem minor but ruin photos. Here’s what to watch out for:
- Over-contouring: Heavy bronzer or contour can look muddy in photos. Subtle shading enhances features; heavy lines distract.
- Ignoring the Neck: If you apply foundation to your face, blend it down your neck. A visible line creates a "mask" effect.
- Too Much Highlighter: Flash photography amplifies shine. Excessive highlighter can make you look sweaty rather than glowing.
- Last-Minute Changes: Do not change your hair or makeup style less than two weeks before the wedding. Stick to what was tested during trials.
Remember, the goal is to look like yourself, just polished. If you hate wearing foundation, skip it and use tinted moisturizer. Comfort translates to confidence, and confidence looks beautiful in pictures.
Final Prep Timeline
To keep everything organized, follow this simple timeline leading up to the wedding day:
- 3 Months Out: Start consistent skincare. Book makeup artist if hiring one.
- 1 Month Out: Finalize makeup trial. Take photos in different lighting conditions.
- 1 Week Out: Gentle exfoliation. No new products. Get a facial if it’s part of your routine.
- Day Before: Hydrate heavily. Sleep well. Pack the emergency kit.
- Wedding Morning: Eat breakfast. Avoid salty foods that cause puffiness. Arrive at the venue early enough to relax.
By preparing these elements in advance, you remove the chaos from the morning of your wedding. You can focus on enjoying the moment, knowing your look is secured.
Do I really need a makeup trial?
Yes, absolutely. A trial allows you to test how your skin reacts to products and ensures the colors match your dress and accessories. It also helps your makeup artist understand your preferences regarding coverage and finish. Without a trial, you risk waking up on the wedding day with a look you dislike or skin irritation.
What is the difference between HD and regular foundation?
HD (High Definition) foundation contains light-diffusing particles that minimize the appearance of pores and fine lines under camera scrutiny. Regular foundations may contain silica or mica that reflect flash, causing a "white cast" or making texture look exaggerated. For weddings, HD formulas are generally safer for photography.
How do I prevent my makeup from melting in summer heat?
Use a gripping primer, choose long-wear formulas, and set thoroughly with translucent powder. Carry blotting papers to absorb excess oil without disturbing the makeup layer. Finally, use a setting spray with polymers that lock makeup in place against humidity and sweat.
Should I wear false eyelashes?
It depends on your comfort level and eye shape. False lashes enhance depth and drama in photos. If you aren’t used to them, practice weeks in advance. Start with natural-looking strip lashes. If you find them uncomfortable, curl your natural lashes well and use multiple coats of waterproof mascara instead.
What should I do if my lipstick stains my teeth?
Apply lipstick, then insert your index finger into your mouth, purse your lips around it, and pull it out. This removes excess product from the inner rim of your lips, which is the primary cause of tooth staining. Also, check your teeth in a mirror before walking down the aisle.