Wedding Invitation Cost Estimator: DIY vs. Pro
DIY Options (Select all that apply)
Here is the quick reality check: DIY can be cheaper, but only if you have the right tools and a very a basic design. If you're chasing a high-end look with foil or thick velvet paper, the hidden costs of professional-grade materials often eat up the savings. Most couples find that the 'savings' disappear when they have to buy a high-end printer or spend $80 on a specialized glue stick.
The Real Cost of Going DIY
When you see a price for a professional suite, you're paying for the design, the paper, the printing, and the assembly. When you go the DIY route, you become the project manager, the graphic designer, and the factory worker. Let's look at the DIY wedding invitations is the process of designing, printing, and assembling wedding stationery at home or via online print-on-demand services.
First, you have the software. If you use a free tool like Canva, your cost is zero. But if you decide you need Adobe Illustrator for a specific font or vector graphic, you're suddenly paying a monthly subscription fee. Then there is the paper. Standard printer paper looks cheap. To get that 'wedding feel,' you need high-gsm cardstock. A pack of 100 sheets of quality 300gsm paper can cost anywhere from $20 to $50 depending on the finish.
Ink is the silent killer of DIY budgets. Home inkjet printers are notorious for eating ink. If you have a full-color design with a floral border, you might run through two cartridges just for the main invites, not counting the RSVP cards or detail inserts. If you're printing 100 sets, that's 200-300 pieces of paper. A single mistake on page 40 means you're wasting expensive materials.
Professional Printing: Where the Money Goes
When you hire a Stationer, you're paying for a set of skills and industrial machinery. Professional shops use Offset Printing, which is a technique that uses ink plates to produce high volumes of prints with perfect color consistency. This is vastly different from your home printer, which can sometimes leave 'streaks' or vary in color from the first page to the last.
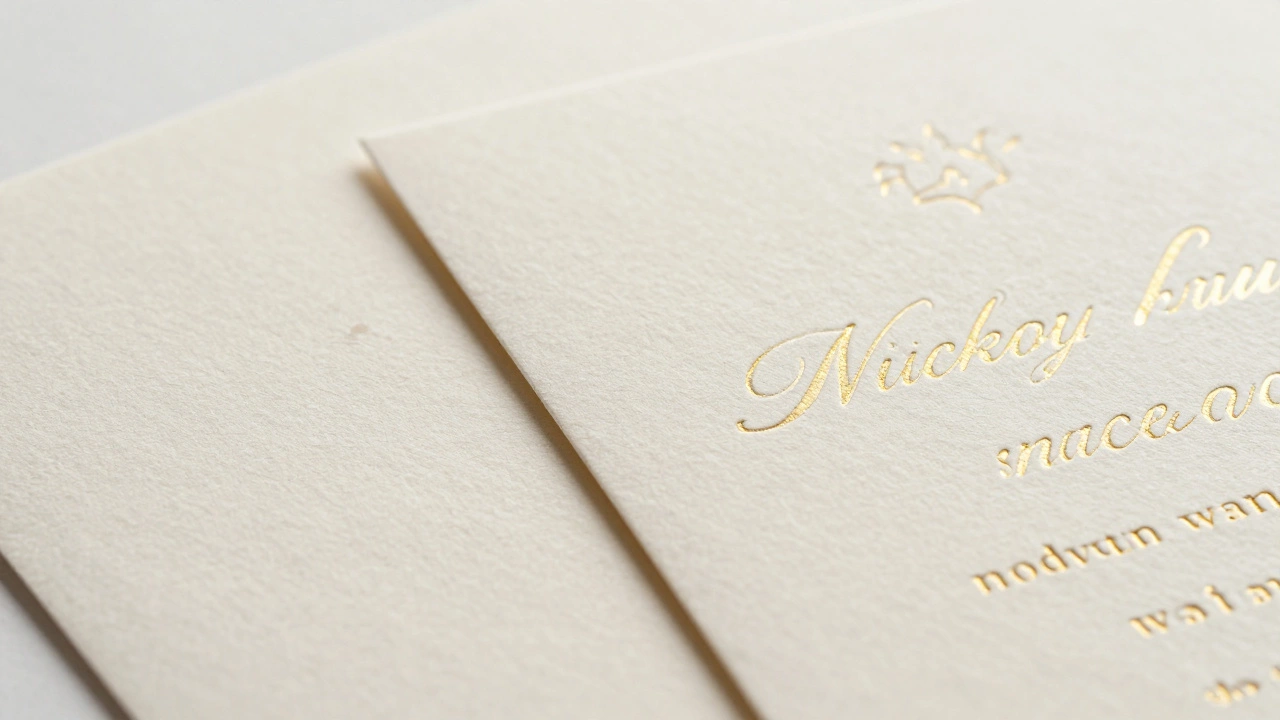
Professionals also offer techniques that are nearly impossible to do at home without a thousand-dollar machine. Think of Letterpress (pressing ink deep into the paper) or Foil Stamping (adding metallic accents). If you try to fake foil with a glitter pen, the result usually looks like a middle-school art project. The cost of professional invites usually ranges from $2 to $15 per suite, depending on the complexity.
| Feature | DIY (Home/Online) | Professional Stationer |
|---|---|---|
| Upfront Cost | Low to Medium | Medium to High |
| Time Investment | Very High (Days/Weeks) | Low (Consultation only) |
| Quality Consistency | Variable (Risk of errors) | High (Guaranteed) |
| Special Effects | Basic (Ink/Paper) | Advanced (Foil, Embossing) |
| Stress Level | High (Assembly is tedious) | Low (Hand-delivered) |
The 'Middle Ground' Strategy
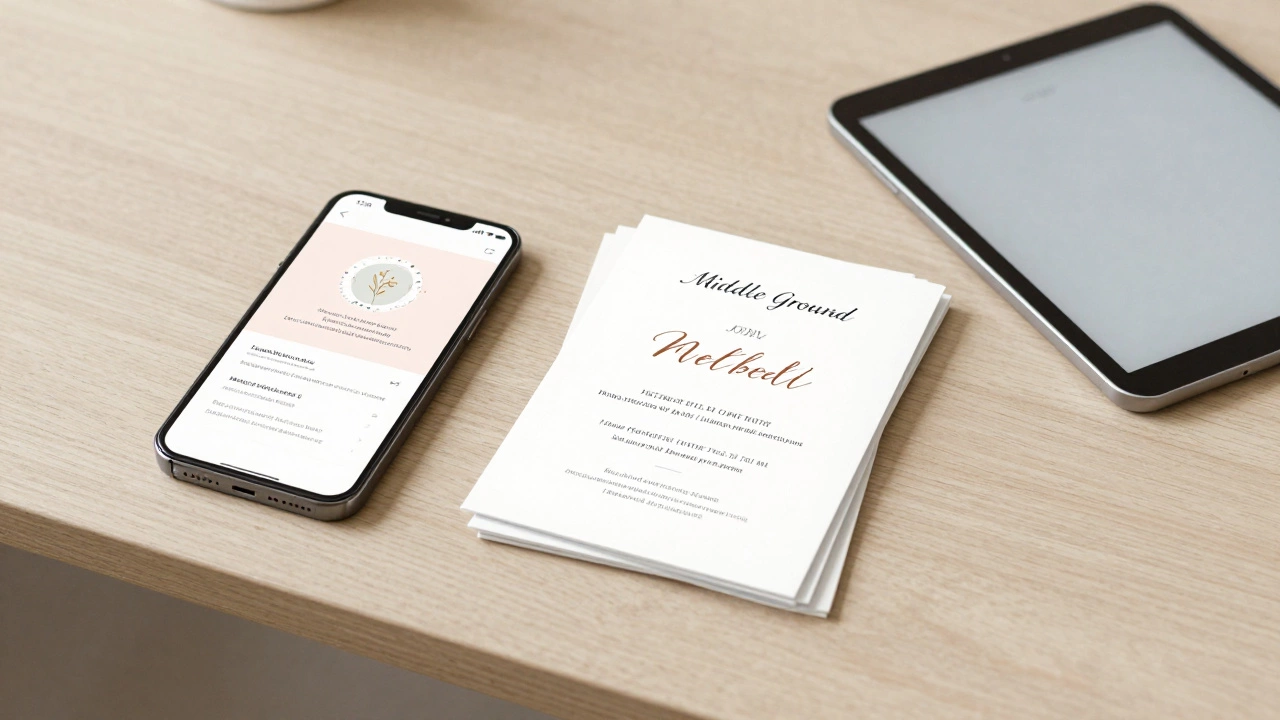
You don't actually have to choose between 'printing in your pajamas' and 'spending a fortune at a boutique.' There is a huge market for hybrid options. One of the most popular is the Digital Invitation, where you send the invite via email or a wedding website and only print a few physical copies for elderly relatives. This effectively drops your printing cost to nearly zero.
Another route is using a 'semi-DIY' service. You design the card using a template on a site like Minted or Zola, and they handle the professional printing and cutting. You get the professional quality of Digital Printing-which uses toner and heat to bond ink to the paper-without having to manage the logistics. This usually costs more than home printing but significantly less than a custom designer.
If you're determined to do it at home, the real secret to saving money is simplifying your design. Stick to black ink on white or cream paper. This eliminates the need for expensive color cartridges and reduces the chance of glaring printing errors. Use a high-quality paper trimmer-not scissors-to ensure your edges are crisp. A cheap $15 pair of scissors will leave your invites looking jagged, regardless of how nice the font is.
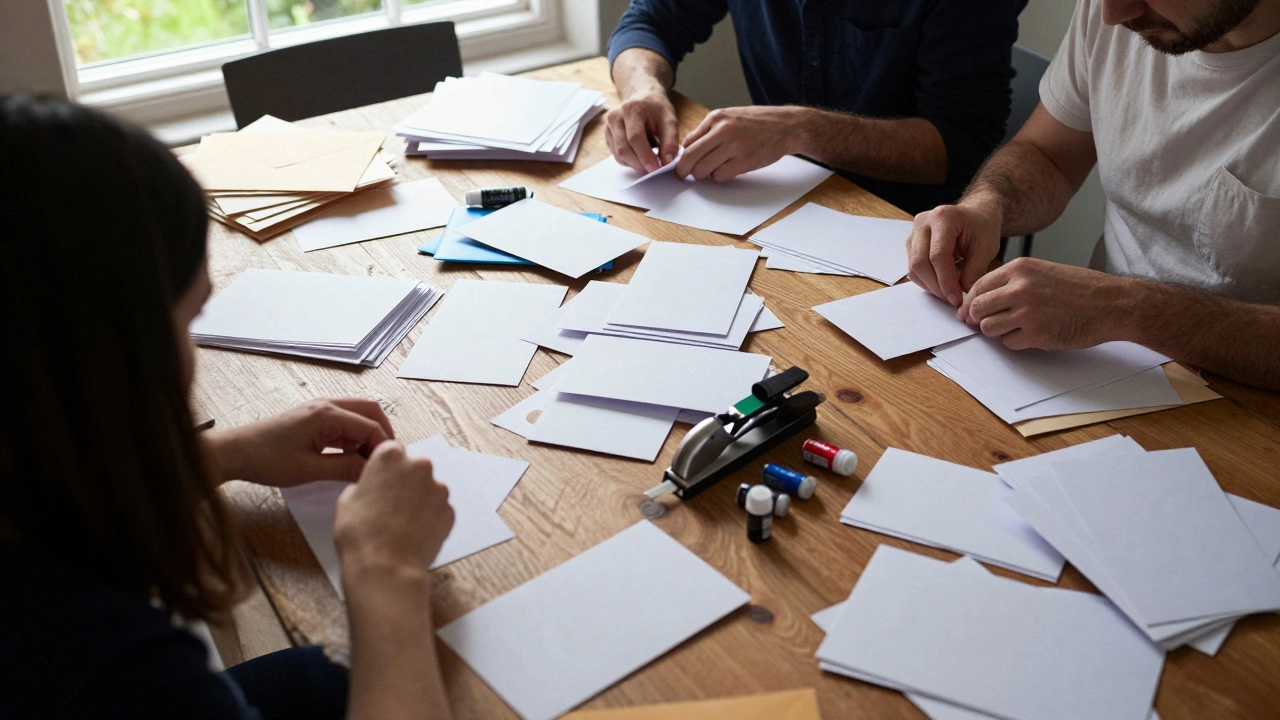
Common DIY Pitfalls That Blow the Budget
Many couples start a DIY project thinking it's a cost-saver, only to find themselves spending more than a professional would have charged. The first trap is the 'trial and error' phase. You print one page, realize the margin is off by 2mm, delete it, and print again. Do this ten times, and you've wasted a significant amount of cardstock and ink.
Then there is the assembly. If your design includes a ribbon, a wax seal, or a vellum wrap, you have to buy those materials in bulk. Wax Seals require a stamp, a wax melting pot, and the wax beads themselves. If you're doing this for 100 guests, you'll spend hours melting wax and likely end up with a few sticky messes that require you to reprint the whole card.
Don't forget the envelopes. High-quality envelopes that actually fit your custom paper size can be surprisingly expensive. If you buy the wrong size, you'll spend an afternoon trying to 'make them fit,' which usually results in crumpled corners and a frustrated partner.
Decision Guide: Should You Do It Yourself?
To figure out if DIY is actually the right move for you, ask yourself these three questions. First, do you enjoy repetitive tasks? Assembling 100 envelopes is not a 'creative' process; it's a production line. Second, do you already own a high-quality printer and a paper trimmer? If you have to buy the equipment, the DIY route is almost never cheaper.
Third, how much do you care about the 'first impression'? The invitation is the first piece of communication your guests see. It sets the tone for the whole event. If you're throwing a casual backyard BBQ, a home-printed invite is totally appropriate. If you're hosting a black-tie ballroom affair, a home-printed invite might feel mismatched with the event's energy.
If you're on a razor-thin budget, the smartest move is often to go fully digital. It's the only way to guarantee zero printing costs. You can use a free wedding website builder to manage RSVPs automatically, which saves you the cost and hassle of collecting and counting physical RSVP cards.
How much can I actually save by doing DIY invites?
Depending on the professional quote, you could save anywhere from $100 to $800. However, after factoring in the cost of high-gsm cardstock, ink, envelopes, and a paper trimmer, the actual net saving is often lower than expected. For a basic design, you might save 50-70% compared to a boutique stationer, but you pay for it in time.
What is the cheapest type of paper for wedding invites?
The most budget-friendly option is a standard 200gsm to 250gsm white cardstock. While 300gsm is the gold standard for luxury, 200gsm is still sturdy enough to feel like an invitation without breaking the bank. Avoid using standard 80gsm printer paper, as it feels like a business memo and can wrinkle when ink is applied.
Can I use a home printer for professional-looking results?
Yes, but it requires a few tricks. Use a laser printer if possible, as the ink doesn't bleed on the edges and looks sharper. If using an inkjet, set the quality to 'High' or 'Best' and use a paper setting that matches your cardstock weight. Always print a test page on cheap paper first to check the margins and colors before using your expensive stock.
Are digital invitations considered tacky?
Not anymore. In 2026, digital invites are widely accepted, especially for casual or mid-range weddings. They are eco-friendly and much more efficient for tracking RSVPs. If you're worried about tradition, you can send a digital invite to most guests and print a few formal versions for your parents and grandparents.
What are the most expensive parts of a professional invitation?
Specialty printing techniques like foil stamping, letterpress, and thermography are the biggest cost drivers. Additionally, custom-cut shapes (die-cutting) and high-end embellishments like silk ribbons or custom wax seals add significant labor costs to the final price.
Next Steps for Your Budget
If you've decided to go DIY, start by creating a 'mock-up' of a single invite. Print it on the exact paper you plan to use to see if the colors look right. Don't forget to order about 15% more paper than you think you need to account for mistakes. If the mock-up looks too basic, consider a semi-DIY online service-it's often the sweet spot between cost and quality.
For those who are feeling overwhelmed by the thought of folding 100 envelopes, look into a local print shop. Sometimes they can offer a 'print only' service where you provide the digital file and they handle the high-speed printing and cutting for a flat fee, which is often cheaper than doing it on a home machine.