Bridal Makeup: DIY or Professional?
Answer these 5 quick questions to see if you're a candidate for DIY bridal makeup or if a professional is your best bet.
Question 1: Loading...
Your Recommendation
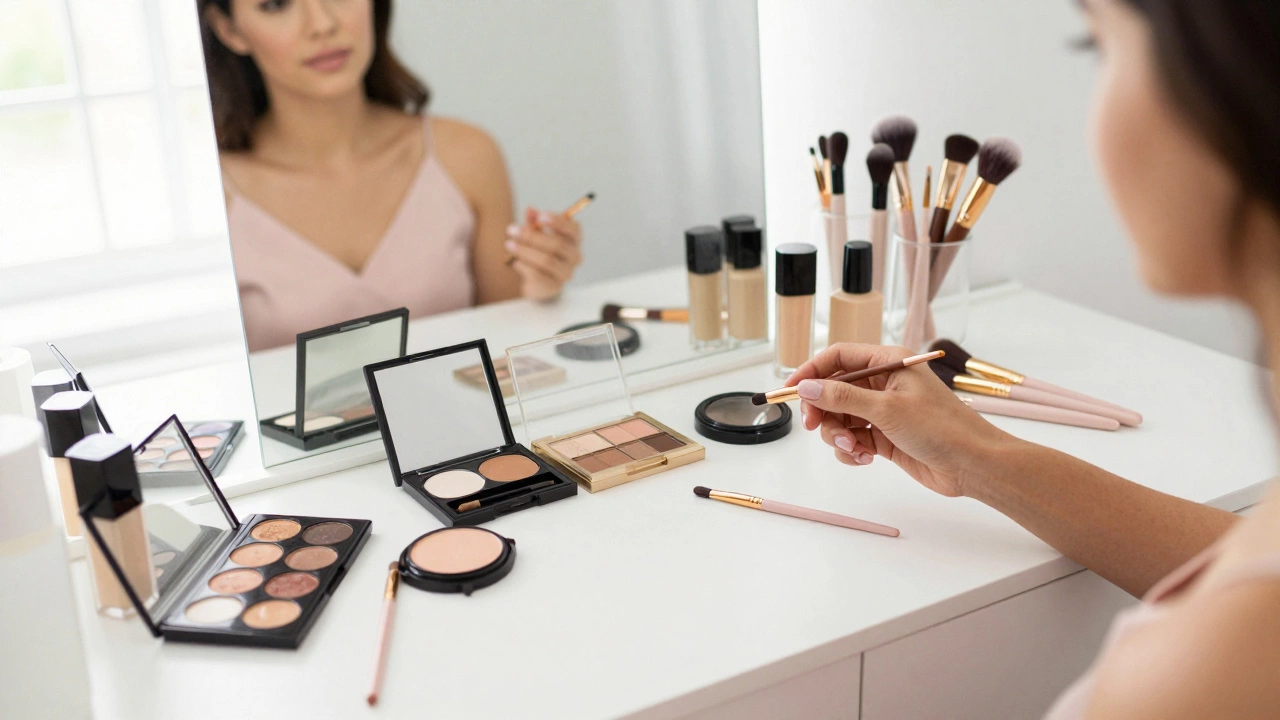
Score: 0You're staring at your vanity, looking at the high-end palettes and a dozen different primers, and a thought hits you: why spend hundreds of dollars on a professional when I already know how to wing my eyeliner? It's a tempting thought. After all, you know your skin, you know your preferences, and you're probably already practicing your look in the mirror every night. But there is a massive difference between 'looking great for a date' and 'looking flawless for 14 hours of photography, emotional vows, and a humid dance floor.'
Quick Takeaways for Your Big Day
- Skill Level: If you can't do a flawless blend in 30 minutes, a pro is safer.
- Longevity: Bridal makeup requires specific "long-wear" products, not just standard daily makeup.
- Stress Factor: Doing it yourself saves money but adds an hour of pressure to your wedding morning.
- The Safety Net: A trial run is non-negotiable, whether you hire someone or do it yourself.
The Reality of DIY Bridal Makeup
Let's be honest about the stakes. On a normal Saturday, if your foundation oxidizes and turns orange by 4 PM, you just go home and wash it off. On your wedding day, that orange tint is going to be frozen in high-resolution images for the next fifty years. The biggest hurdle isn't actually the application-it's the environment. You'll be dealing with adrenaline, potentially shaking hands, and a timeline that usually runs 30 minutes behind schedule.
When we talk about Bridal Makeup is a specialized form of cosmetic application designed to look natural in person while remaining defined enough to show up in professional photography. It's not just about the colors you pick; it's about the chemistry of the products. Most of us use a moisturizer and a bit of concealer. For a wedding, you need a system of layering that prevents creasing and sliding.
Can You Actually Pull It Off?
Whether you can successfully do your own makeup depends on your current relationship with a makeup brush. Ask yourself: do I enjoy the process, or is it a chore? If you find the process relaxing, doing it yourself can be a meditative start to your day. If you usually struggle to get your foundation to match your neck or your mascara always smudges, this is not the day to experiment.
Consider your skin type. If you have very oily skin or a tendency toward breakouts, you'll need to master the art of Priming. Priming involves applying a base layer to the skin to fill pores and control sebum production. If you've never used a professional-grade primer, learning how it interacts with your foundation on your wedding morning is a recipe for stress.
| Feature | DIY Approach | Professional Artist |
|---|---|---|
| Cost | Low (Price of products) | High (Service fee + travel) |
| Stress Level | Higher (You are the technician) | Lower (You are the client) |
| Product Quality | Whatever you own | Professional grade / HD products |
| Consistency | Variable based on mood/shaking | Consistent and trained |
| Time | Adds to your prep time | Scheduled into the morning |
The Essential Kit for the DIY Bride
If you've decided to take the plunge, you can't just use your everyday bag. You need a curated kit focused on Cosmetic Longevity. This means moving away from dew-heavy products that slide and moving toward a "set and forget" philosophy. Start with a high-pigment foundation that is specifically labeled as "long-wear" or "24-hour." If you use a sheer tint, you'll find yourself reapplying every hour, which is impossible when you're greeting 100 guests.
You'll also need a Translucent Setting Powder. A finely milled powder used to lock in foundation and prevent shine without adding a heavy layer of color. Applying this using the "baking" method-letting the powder sit on the skin for a few minutes before brushing it away-is a pro trick that ensures your under-eye concealer doesn't crease during your first dance.
Don't forget the Setting Spray. This is the "hairspray for your face." A high-quality setting spray creates a film over the makeup that protects it from humidity and tears. If you're getting married outdoors or in a warm climate, this is the most important item in your kit. Without it, your hard work could literally melt away by the time you reach the altar.
The Danger of the "Wedding Morning" Trap
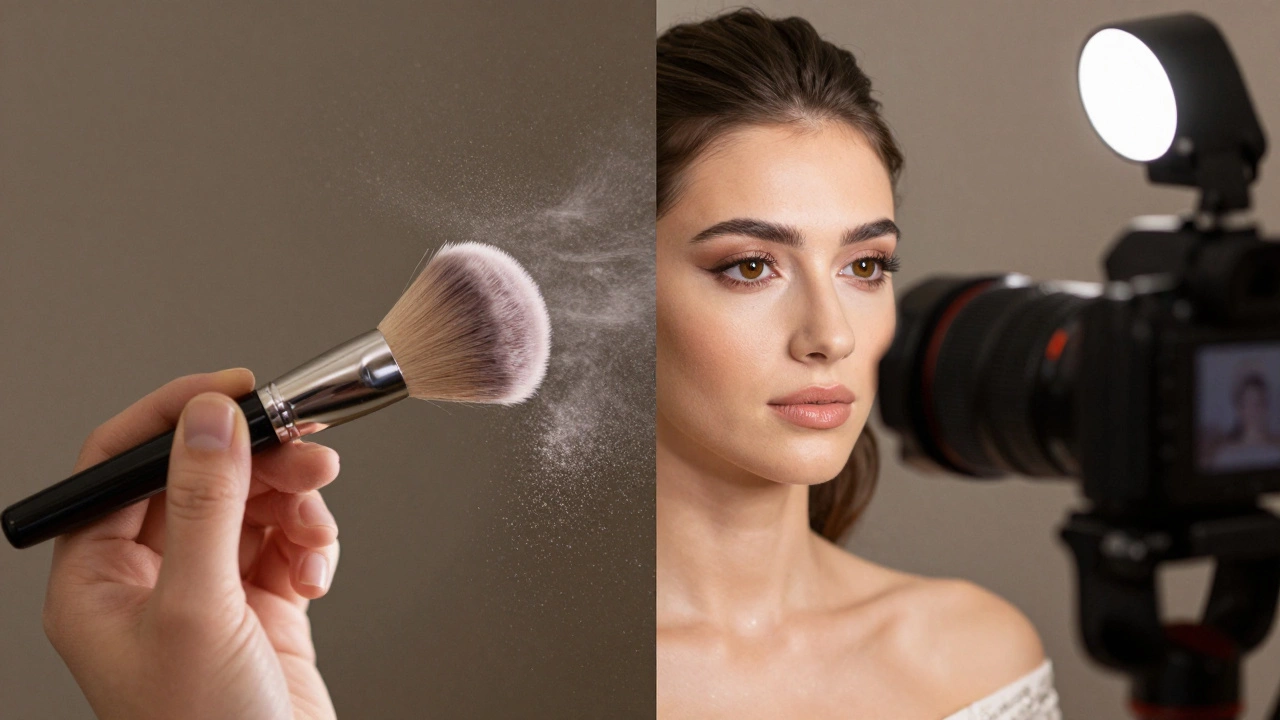
One thing people forget is the lighting. Your bathroom mirror might have great light, but the ceremony venue might be dimly lit or under harsh fluorescent bulbs. This is why a trial run is critical. You need to apply your full face and then take photos in different lighting: natural sunlight, indoor lamplight, and with a flash. Flash photography often reveals "flashback," where certain ingredients in foundations or powders reflect light and make your face look white or ghostly in photos.
Then there's the timeline. Most brides underestimate how long it takes to do full-glam makeup. If you think it takes 45 minutes, budget 90. You have to account for the time it takes for your skin to absorb your moisturizer, the time it takes to fix one stubborn eyeliner wing, and the inevitable moment you realize you've accidentally smudged a bit of eyeshadow on your cheek. When you're the one doing the makeup, you can't just "relax and sip champagne" while someone else does the work.
How to Practice Without Panicking
If you're committed to DIY, start your training at least three months out. Don't just do the makeup once. Do it five times. Wear the full look for a whole day-go to lunch, walk around the block, and see where it fades. Does your lipstick disappear after you drink water? Does your eyeshadow crease by 3 PM? This is how you refine your technique.
Try the "Tear Test." If you know you're going to cry during the ceremony, apply your makeup and then gently dab your eyes with a tissue. See if the mascara runs or if the concealer smudges. This will tell you if you need to switch to a waterproof formula or add an extra layer of Eye Primer. A base product applied to the eyelids to prevent shadow creasing and improve color payoff.
When to Call in the Professionals
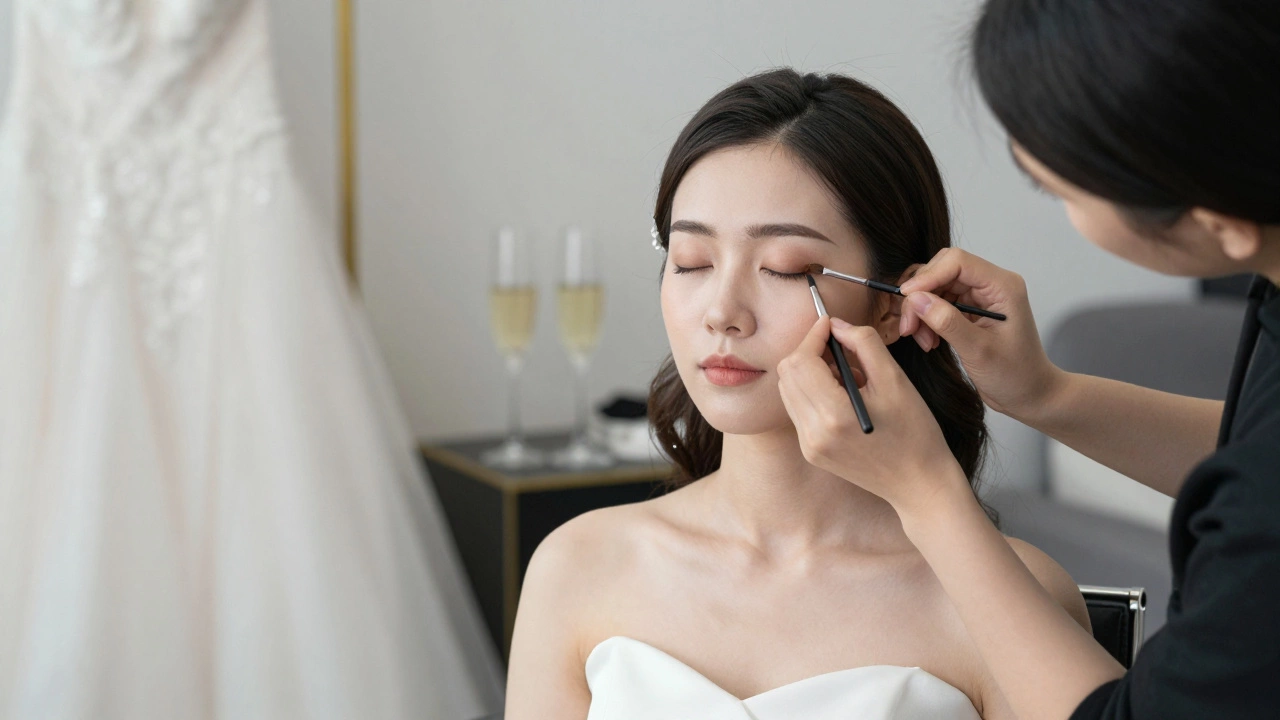
There comes a point where the cost of a professional becomes a bargain for your peace of mind. If you find that your trial runs are leaving you frustrated, or if you realize that you spend more time worrying about your eyeliner than your vows, hire an artist. A Makeup Artist (MUA) doesn't just apply product; they bring a kit of a thousand colors and an understanding of facial anatomy and lighting that takes years to master.
Moreover, professional artists often work in tandem with your hair stylist. They know how to balance the level of "glam" in your makeup with the style of your hair so you don't look overdressed or underdone. They also provide the confidence boost you need. There is something incredibly calming about sitting in a chair and having someone else handle the details while you focus on the magnitude of the day.
Will my makeup look too heavy in person if I do it for photos?
Yes, it can. The trick is using high-pigment products but blending them meticulously. Professional cameras "eat" about 20% of your makeup, meaning it looks softer in photos than it does in a mirror. If you go too heavy without blending, you'll look like you're wearing a mask in person. Focus on building coverage in layers rather than applying one thick coat of foundation.
What is the best way to prevent mascara from smudging?
Use a waterproof mascara, but specifically one that is "tubing" or smudge-proof. Also, avoid putting heavy moisturizer or eye cream directly on your lash line right before applying mascara, as the oils can break down the product and cause it to run down your face.
How do I stop my lipstick from getting on my teeth?
Use a lip liner to outline the entire lip, then fill in the center with a matte long-wear lipstick. After applying, blot with a tissue and apply a light dusting of translucent powder over the lips through the tissue. Finish with one more light layer of lipstick. This "sandwich" technique locks the color in place.
Can I use my regular daily foundation?
You can, provided it is long-wearing and doesn't oxidize. However, many daily foundations are designed for an 8-hour window. For a wedding, you need something that can handle sweat, humidity, and tears. Check the ingredients for "silicone" or "polymer" bases, which typically offer better longevity than water-based daily tints.
What should I do if I have a breakout on my wedding morning?
Do not try a new spot treatment or a strong chemical peel on the morning of the wedding, as this can cause redness or peeling. Use a color-correcting concealer-green for redness-and dab it on with a small brush. Gently tap the edges to blend, then set it immediately with powder so it doesn't move.
Next Steps for the Budget-Conscious Bride
If you're torn between the two, consider a middle-ground approach. You could hire a professional for the foundation and eyes-the hardest parts to get right-and then do your own lips and blush throughout the day. Alternatively, look for a "half-day" package where the artist does your look and then leaves, rather than staying for touch-ups.
Regardless of your choice, start a "beauty diary." Note down every product you use during your practice sessions and how your skin reacted. If you're doing it yourself, create a checklist of your tools so you aren't searching for a specific blending brush while your bridesmaids are already dressed and waiting. Your goal is to move from a place of uncertainty to a place of confidence, ensuring that when you look in the mirror on that final morning, you see exactly the version of yourself you imagined.