Cake Making Timeline: Your Step‑by‑Step Guide
Planning a wedding cake can feel overwhelming, but a clear timeline makes it easy. Knowing when to book the baker, when to schedule tastings, and when the final assembly happens saves money and prevents last‑minute panic. Below is a straightforward timeline that works for most couples, whether you want a simple tiered cake or a multi‑flavor masterpiece.
12‑16 Weeks Before the Wedding: Start the Conversation
First, pick a baker you love. Look at portfolios, read reviews, and book a consultation. During this meeting discuss your budget, flavor ideas, and design concepts. Most bakers will ask you to sign a contract and put down a deposit at this stage. Getting this out of the way early locks in availability and gives the baker enough time to order specialty ingredients.
8‑10 Weeks Before: Tasting and Final Design
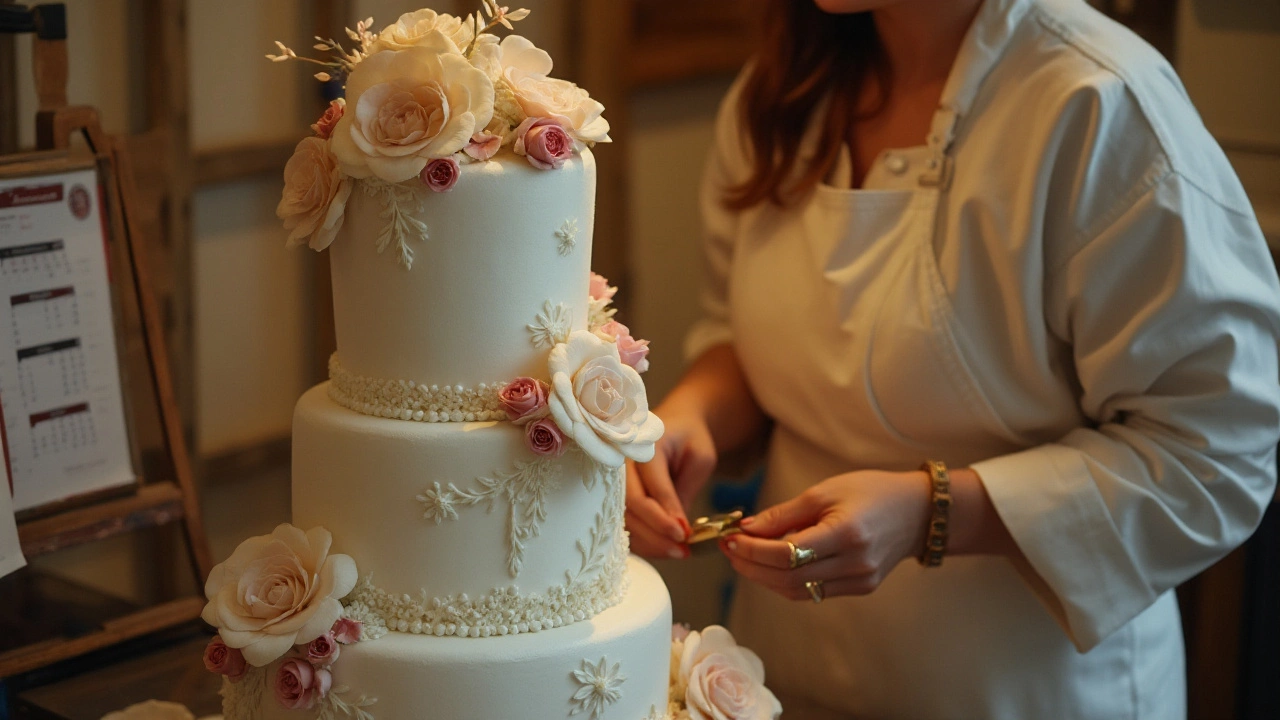
Schedule a tasting session. Try at least three flavors and think about texture – do you want a light mousse or a rich buttercream? Once you’ve chosen flavors, finalize the design sketch. Include details like fondant accents, fresh flowers, or custom toppers. Confirm the cake size by estimating how many guests will be served. Most bakers recommend adding a 5‑10% buffer to avoid running short on slices.
At this point, you’ll also receive a detailed price breakdown. Review it carefully and ask about any hidden fees such as travel costs or special decorations. If everything looks good, sign the final agreement and pay the second deposit, usually due a month before the wedding.
4‑6 Weeks Before: Order and Confirm
Give the baker any final details—color palettes, ribbon types, or special dietary requests (gluten‑free, vegan, etc.). If you’re using fresh flowers, decide whether the baker will source them or you’ll bring them in on the day. Confirm the delivery address and time slot. Most bakers require a written confirmation at least two weeks before the event.
Start thinking about cake stand, knives, and serving plates. Borrowing from family or renting can save money. Keep these items close to the delivery location so the cake can be transferred quickly and safely.
1‑2 Weeks Before: Final Checks
Ask the baker for a final timeline for the wedding day. It should include when they’ll arrive, how long they need to set up, and when the cake will be ready for cutting. Double‑check the guest count and let the baker know of any last‑minute changes. This is also a good time to confirm the payment method for the remaining balance, which is usually due on the wedding day.
If you’ve hired a cake stand or decorative props, set them up at the venue beforehand. A quick walk‑through with the venue manager can avoid surprises like low ceilings or tight doorways that might affect cake placement.
Wedding Day: Delivery, Setup, and Enjoy
On the big day, the baker arrives early—typically 1‑2 hours before the ceremony. They’ll unpack, assemble the tiers, and add final decorations. Keep an eye on the temperature; most cakes stay fresh at room temperature for a few hours, but a warm venue may require a cooler.
Once the cake is set, do a quick visual check. If anything looks off, let the baker know right away. After the ceremony, the cake is ready for cutting and serving. Enjoy the moment—your planning and timeline have paid off!
Having a solid cake making timeline takes the guesswork out of one of the most memorable parts of your wedding. Follow these steps, communicate clearly with your baker, and you’ll end up with a beautiful cake that tastes as good as it looks.
How Early Can You Create a Wedding Cake? Tips for Perfect Timing
Planning the perfect wedding involves careful attention to details, including the cake, a centerpiece of the celebration. Timing is crucial when it comes to making a wedding cake, as fresh ingredients and skillful decoration require thoughtful scheduling. This article delves into the optimal timeline for preparing a wedding cake, offering tips for ensuring it delights both visually and tastefully on the big day. Discover how preparation time varies based on cake complexity, storage conditions, and the involvement of the couple.
Read more