Wedding Invitations: Practical Tips for Perfect Invites
Planning your wedding invitation can feel like a mini project, but it doesn’t have to be overwhelming. The right invite sets the tone, tells guests what to expect, and keeps the whole planning timeline on track. Below you’ll find straight‑forward advice on etiquette, timing, colors, and budgeting – all the things you’ll need to get right the first time.
Invitation Etiquette Made Simple
First, focus on the basics. Every invite should include the couple’s names, the date, time, and venue. Add a brief line about dress code if you have one – it saves guests from guessing. When it comes to wording, keep it friendly and clear; you don’t need flowery language to sound elegant. Use “together with their families” only if you’re inviting both families to the ceremony.
Plus‑ones are another common headache. If you want to limit them, write “plus one” next to the guest’s name. Avoid the vague “& friends” – it creates confusion and extra costs. For parents, some couples include a separate card that explains who they’re covering, which helps keep the main invite tidy.
When to Send and How Long to Wait for RSVPs
Timing matters. Send save‑the‑dates about 8‑12 months before the wedding, especially for destination or holiday dates. The actual invitations should go out 6‑8 weeks before the big day. This gives guests enough time to book travel and plan, while still keeping the event fresh in their minds.
Give guests a clear RSVP deadline – typically 2‑3 weeks before the final headcount is needed for the venue and caterer. If you’re using an online RSVP system, include a direct link on the back of the invite or a separate response card. For paper RSVPs, a prepaid return envelope makes it easy for everyone to reply promptly.
Reminder emails or text messages a week before the deadline can boost response rates. Keep the reminder short: “Just a friendly nudge to let us know if you’ll be joining us on [date]. Thanks!”
Choosing Colors That Match Your Theme
Color isn’t just decoration; it hints at the overall vibe of your wedding. Classic ivory or soft pastels work for traditional looks, while deep navy, emerald, or even black can feel modern and bold. When picking a hue, consider your venue and attire – a beach ceremony might lean toward blues and corals, while a historic manor could attract richer tones.
Don’t forget readability. Dark text on a light background is easiest to read, and a contrasting envelope liner adds a subtle pop. If you’re worried about clashing, ask your printer for a sample before committing to a full run.
Budgeting for Invitations Without Cutting Quality
Invitation costs can add up quickly. A good rule of thumb is to spend about 5‑7% of your total wedding budget on paper goods. To stay within that range, compare printing methods: digital printing is cheaper for simple designs, while letterpress or foil stamping adds a luxe feel but costs more.
Order a proof before the full batch – it catches mistakes early and avoids re‑printing. If you need extra flair, consider a separate “details card” for accommodations or a QR code that links to your wedding website. These additions cost less than elaborate full‑color designs on every piece.
Lastly, think about DIY options. Many couples create a simple envelope liner or hand‑tied ribbon at home. It adds a personal touch without a hefty price tag.
With these practical steps, your wedding invitations will look polished, stay on budget, and get guests responding on time. Ready to start designing? Grab a sample, set your timeline, and let the excitement begin!
What Time Should You Put on Your Wedding Invitation? A Practical Guide
Learn how to set the perfect time on your wedding invitation based on venue, guest needs, and seasonal factors with real-world examples.
Read more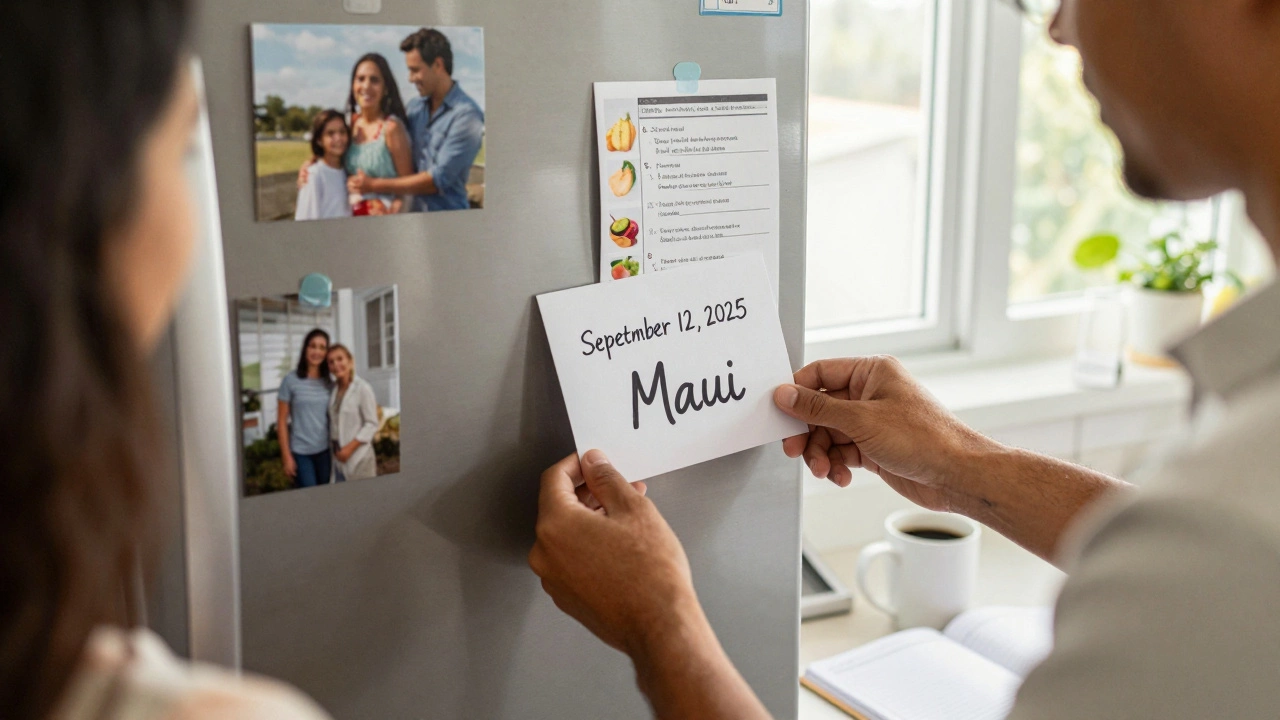
Are Save the Dates Necessary for Your Wedding?
Save the dates aren’t just nice-to-haves - they’re essential for ensuring your guests can make it to your wedding, especially if travel is involved. Learn when to send them, who needs them, and what happens if you skip them.
Read more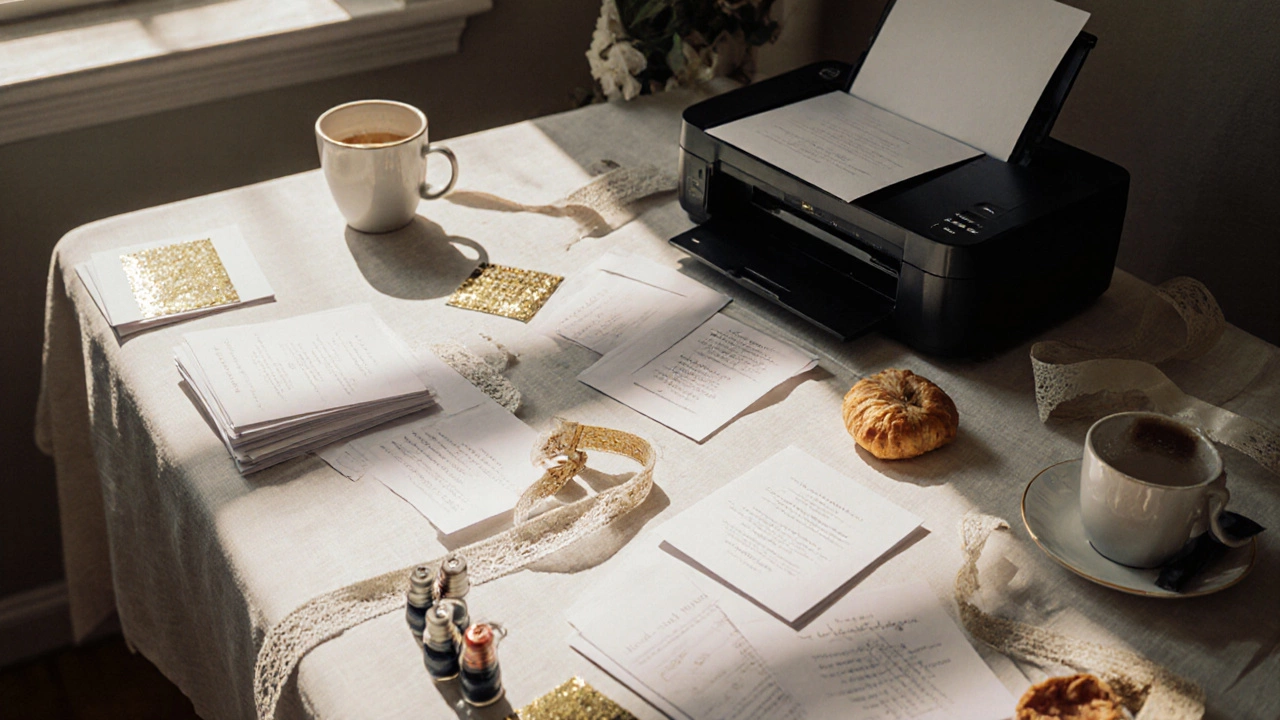
Is it cheaper to buy wedding invitations or make them? Here's the real cost breakdown
Buying wedding invitations usually costs less than making them when you factor in time, materials, and mistakes. Here’s the real cost breakdown for Australian couples in 2025.
Read more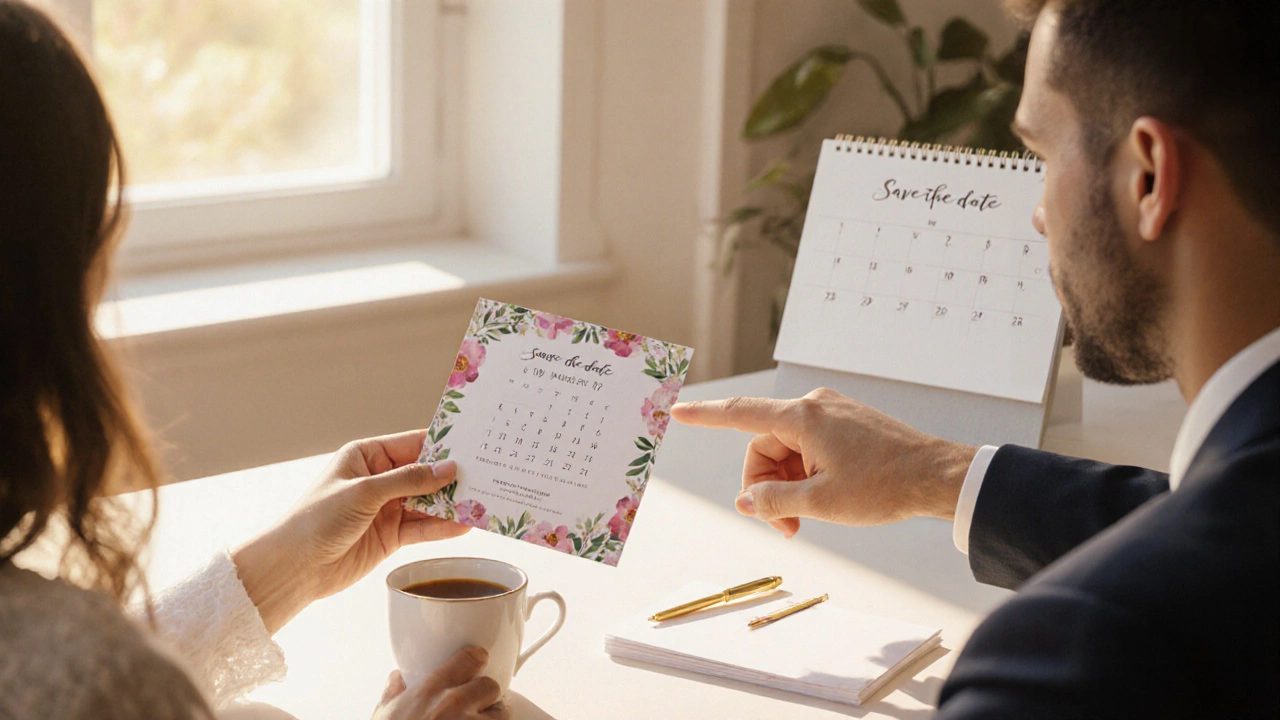
Is It Rude to Send a Save‑the‑Date Without a Formal Invitation?
Learn why a save‑the‑date alone can feel rude, when it's acceptable, and how to phrase it so guests stay happy and informed.
Read more
How Many Friends Do Most People Invite to Their Wedding?
Ever wondered how many friends usually make the cut for a wedding guest list? This article breaks down the average number of friends invited, why people trim or expand their lists, and how different cultures handle it. You'll pick up some real-world stats and tips to find your own sweet spot for invites. Plus, you'll get insider advice on dodging awkward guest list drama and making everyone feel special. It's all about balancing your dream day with real numbers and real relationships.
Read more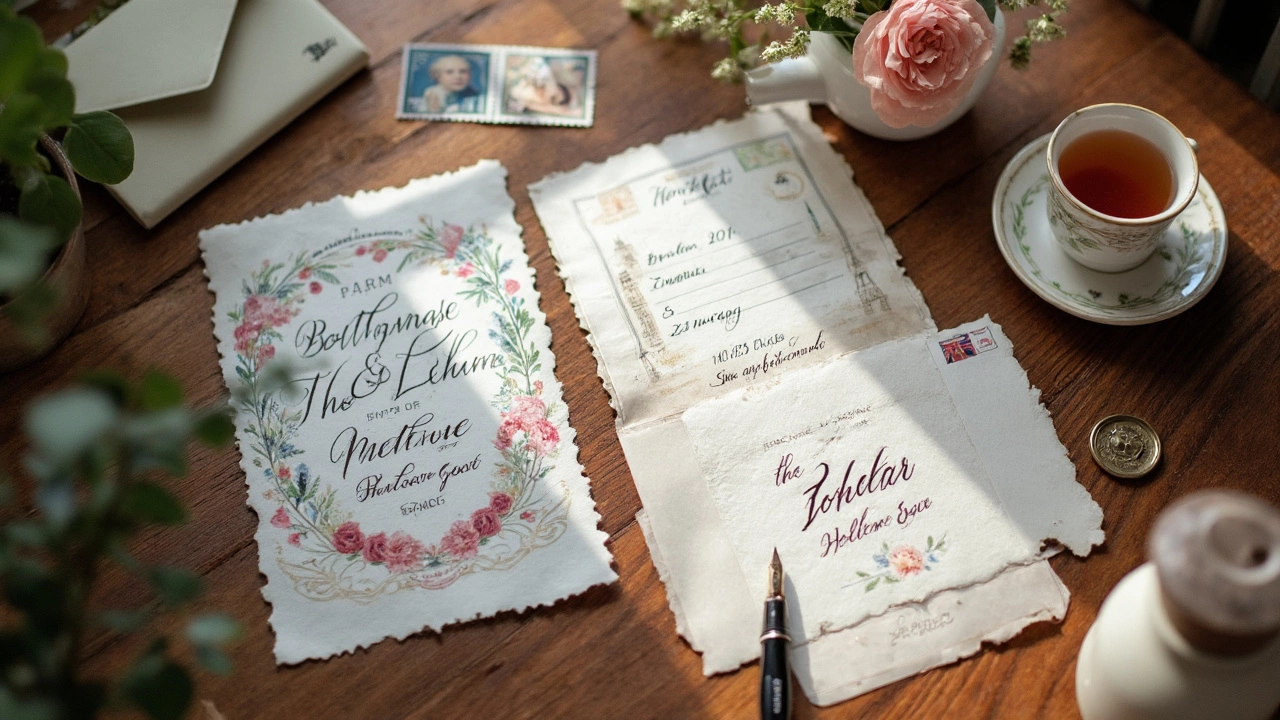
Wedding Invitation Etiquette: The Right Way to Invite
Figuring out wedding invitation etiquette can feel like a maze, but there are some clear basics that make it easier for everyone. This article covers what info to include, when to send your invites, and how to handle special cases like plus-ones and RSVP deadlines. Whether you're planning a fancy event or a casual backyard celebration, these practical tips help your guests feel welcome and avoid common mistakes. You'll also pick up surprising facts, like how early 'save-the-dates' became popular and why wording matters more than you'd think. Get ready to send invitations that set a friendly tone and keep everyone in the loop.
Read more
Does the Mother of the Groom Give the Bride a Gift? Wedding Gifting Etiquette Explained
Wondering if the mother of the groom should give the bride a gift? This article clears up wedding etiquette around this tradition, explains what kinds of gifts are appropriate, and shares real-world tips for making a thoughtful gesture. Get helpful ideas for handling any awkwardness and advice for building a stronger future relationship. Learn practical ground rules before choosing that perfect present.
Read more
How Much Time to Give Guests to RSVP for a Wedding
Wondering how long to give guests to RSVP for your wedding? This article breaks down the ideal RSVP timeline, what can go wrong if the window is too short or too long, and shares tips to keep your guest list on track. Get practical advice to help you avoid last-minute stress and nail your headcount in time for every big deadline. Learn how to make responding easy for everyone, even your forgetful cousin. Your seating chart and caterer will thank you.
Read more
Does the Groom's Family Pay for Alcohol? Real Talk on Wedding Traditions
Weddings come with all sorts of traditions and expectations—especially when it comes to footing the bill for that open bar. This article looks at the long-standing idea that the groom’s family pays for alcohol at the wedding. We'll break down where this tradition comes from, how families handle costs today, and what modern couples are actually doing. Look out for practical advice if you’re planning your own wedding or trying to figure out who writes the check for those Moscow mules. There are also tips on navigating sometimes-awkward conversations about money and booze.
Read more
Who Keeps the Ring if the Engagement Ends? Navigating the Dilemma
Breaking off an engagement is tough enough, but deciding who keeps the ring can add another layer of complexity. Dive into the emotional and legal aspects of this dilemma, exploring how different states approach ring ownership. We'll also touch on how to handle the situation with grace and practical tips on what to do if you find yourself navigating this challenge. Understanding these aspects can help ease the decision-making process for couples facing such a tough situation.
Read more
What is a Reasonable Amount to Spend on Wedding Invitations?
Planning a wedding involves numerous decisions, and determining a reasonable budget for invitations is crucial. Considering factors like design, printing methods, and additional features can significantly impact costs. Balancing aesthetics with budget constraints is key to making practical choices. This guide offers insights into what you might expect to spend and provides tips to help manage expenses while still achieving beautiful results.
Read more
The Definitive Guide to Taboo Colors for Wedding Guests
Choosing the right color for wedding guest attire can be a tricky endeavor, as some shades carry cultural or traditional implications that may lead to unintended offenses. This guide explores colors that are often considered taboo at weddings, explaining their significance and offering tips for selecting a respectful and stylish outfit. Understanding these customs not only honors the couple’s special day but also reflects your thoughtfulness as a guest. From avoiding the classic white to navigating cultural differences, learn how to dress appropriately for weddings in various contexts. Enhance your wedding guest wardrobe with this blend of tradition, fashion, and sensitivity.
Read more