Wedding Invitations: Your Guide to Creative, Polite, and Memorable Invites
First impressions matter, and your wedding invitation is the first glimpse guests get of your celebration. Whether you lean toward classic script, bold colors, or a hands‑crafted look, the right invite sets the mood, shares the details, and shows a bit of your personality. In this guide we’ll walk through design choices, wording basics, and a few budget‑friendly tricks so you can feel confident about every piece you send out.
Choosing the Right Design
Start by asking yourself what vibe you want on the day. A rustic barn wedding often pairs well with kraft paper, twine, and a simple postcard style. A formal ballroom affair might call for heavyweight card stock, foil stamping, and elegant calligraphy. Look at the venue, colour palette, and overall theme – the invitation should echo those elements without overwhelming them. If you’re not sure, create a mood board on Pinterest and pick three design elements that consistently appear; that will guide you toward a cohesive look.
Don’t forget practicality. Make sure the size fits standard envelopes, and double‑check that the RSVP card or response method is easy for guests. If you have a far‑flung guest list, consider adding a bilingual line or a clear map link (printed as a QR code) to avoid confusion. Small details like a matching envelope liner or a wax seal can add a luxe feel without blowing the budget.
Writing Perfect Invitation Wording
The wording is where etiquette meets personality. Traditional format goes: hosts’ names, request line, bride’s name, groom’s name, ceremony details, reception info, and RSVP deadline. You can swap parts out – for example, if the couple is footing the whole bill, you might drop the host line and start with the couple’s names. Keep the tone consistent: if the rest of your wedding is formal, stick with “cordially request the honour of your presence.” If it’s relaxed, feel free to say, “We’d love you to join us.”
Key details to include are date (day of the week + date), time (including ceremony start and reception start if they differ), location (full address), and dress code if it’s not obvious. Add a line for accommodations if many guests are traveling. Finally, give a clear RSVP method – a separate card with a pre‑paid envelope, an email address, or a wedding website link all work well. Mention a deadline, typically three to four weeks before the big day, to give you plenty of time for planning.
For those on a tight budget, DIY kits from craft stores or printable templates online can look professional with a little extra effort. Print on high‑quality paper, use a good inkjet or laser printer, and consider a simple embossing tool for a touch of elegance. Even a modest design can feel special when you add a personal handwritten note or a small photo insert.
Remember, the invitation is more than a piece of paper – it’s the first step to building excitement. By matching the design to your theme, keeping the wording clear and courteous, and adding a few thoughtful touches, you’ll send out invites that not only convey the facts but also make guests feel truly welcomed.
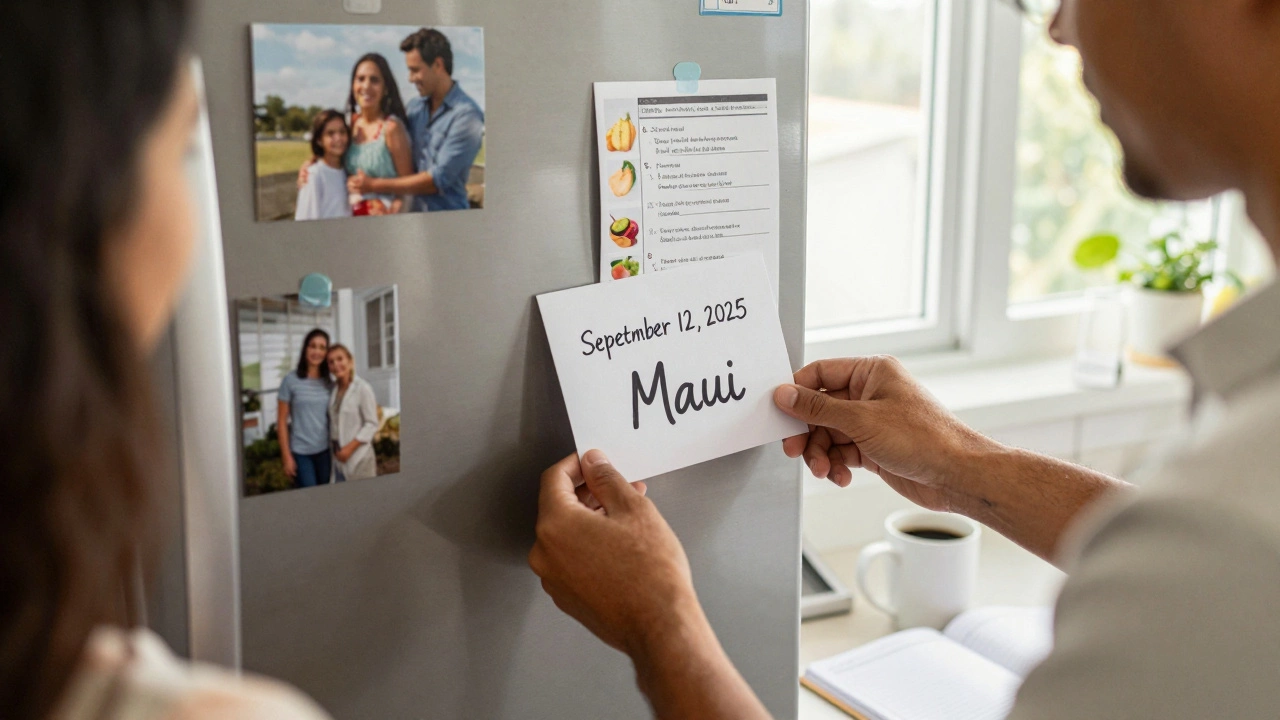
Are Save the Dates Necessary for Your Wedding?
Save the dates aren’t just nice-to-haves - they’re essential for ensuring your guests can make it to your wedding, especially if travel is involved. Learn when to send them, who needs them, and what happens if you skip them.
Read more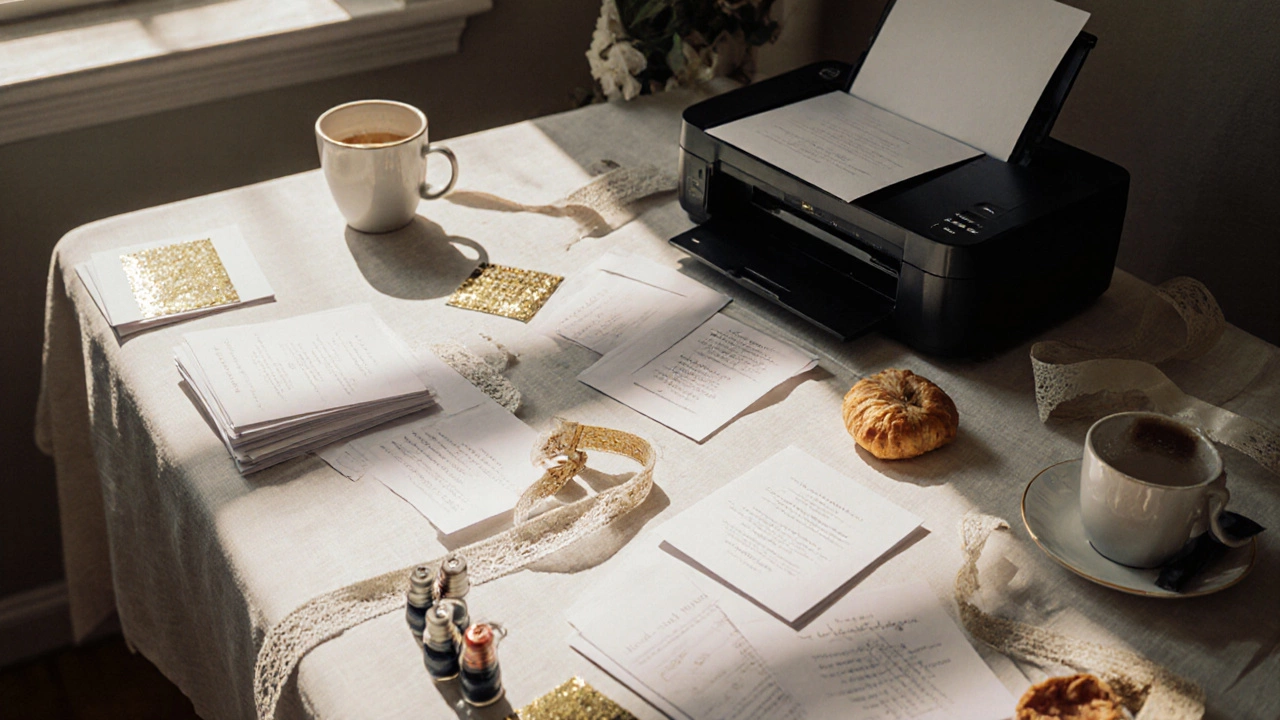
Is it cheaper to buy wedding invitations or make them? Here's the real cost breakdown
Buying wedding invitations usually costs less than making them when you factor in time, materials, and mistakes. Here’s the real cost breakdown for Australian couples in 2025.
Read more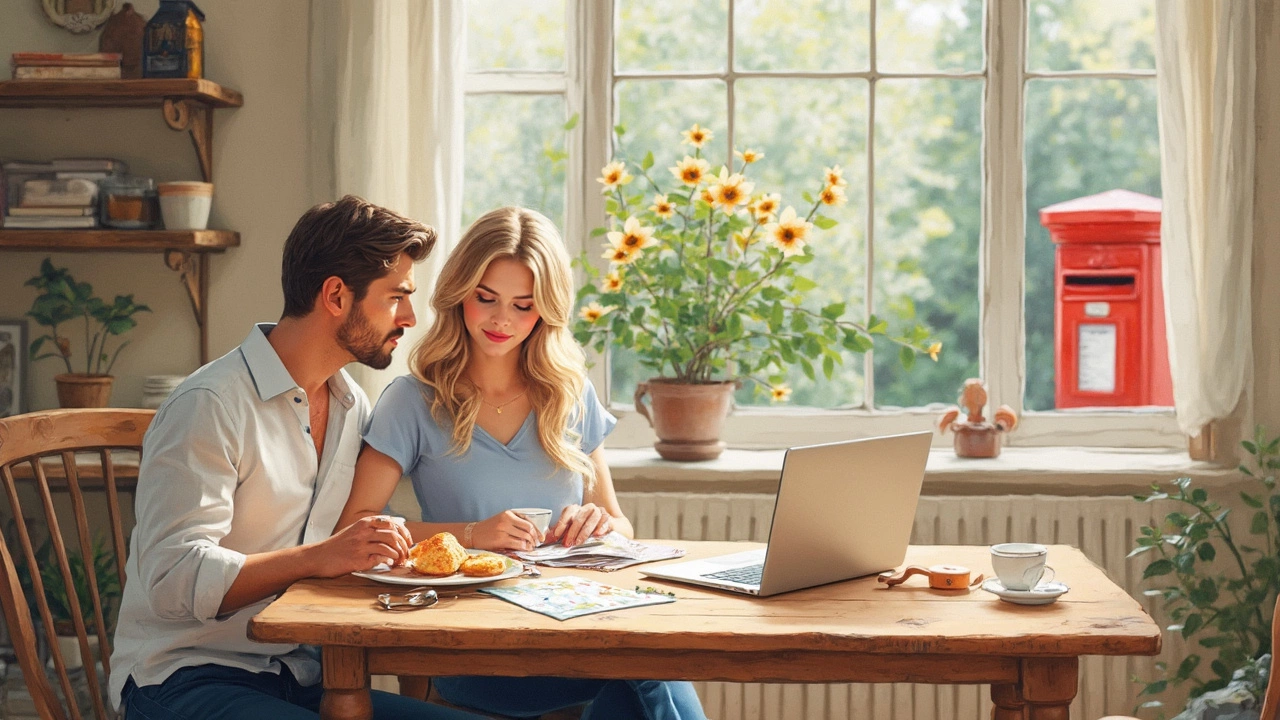
When to Send Save the Dates: Perfect Wedding Timeline Tips
Get simple, up-to-date advice on exactly when to send wedding save the dates, with real-world tips, mistakes to avoid, and easy planning hacks.
Read more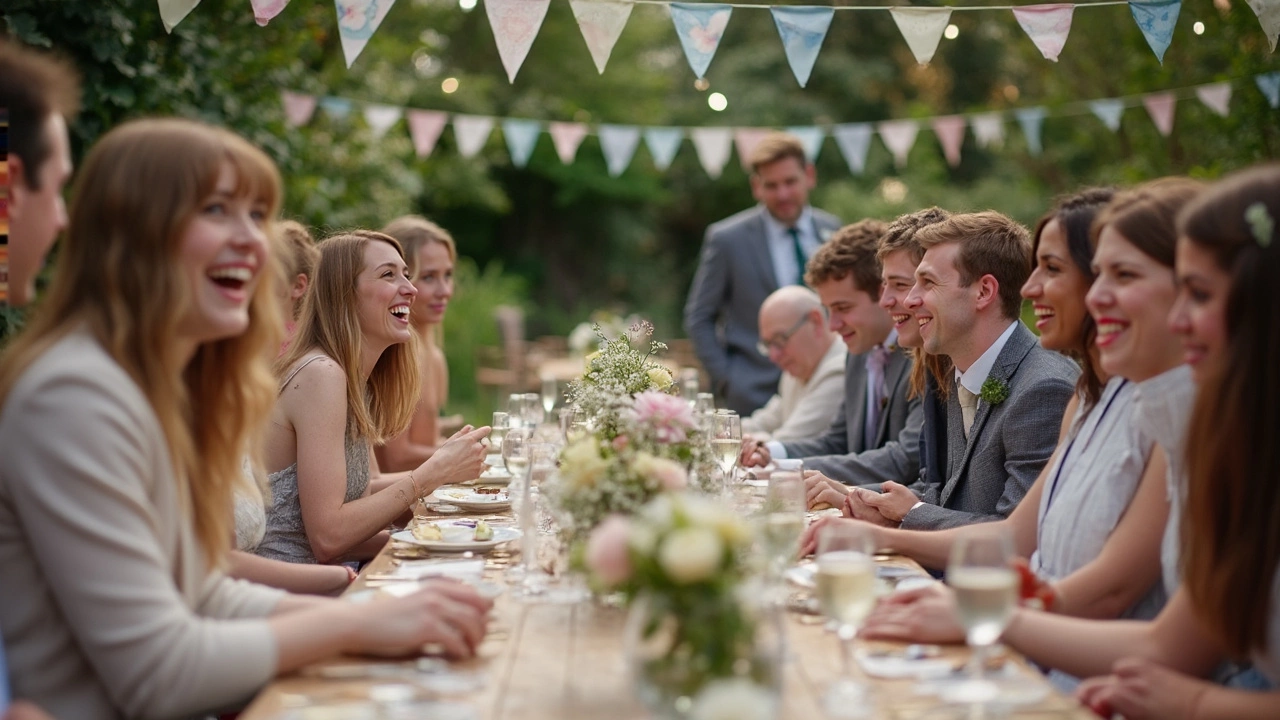
How Many Friends Do Most People Invite to Their Wedding?
Ever wondered how many friends usually make the cut for a wedding guest list? This article breaks down the average number of friends invited, why people trim or expand their lists, and how different cultures handle it. You'll pick up some real-world stats and tips to find your own sweet spot for invites. Plus, you'll get insider advice on dodging awkward guest list drama and making everyone feel special. It's all about balancing your dream day with real numbers and real relationships.
Read more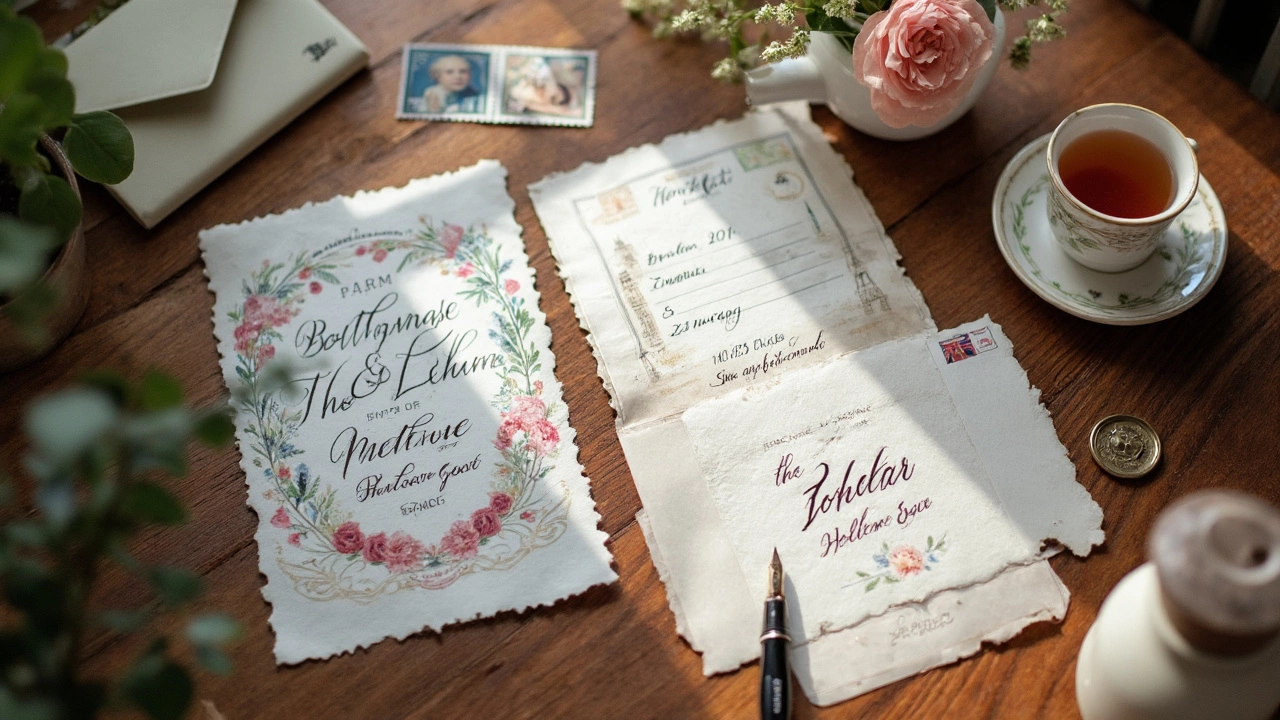
Wedding Invitation Etiquette: The Right Way to Invite
Figuring out wedding invitation etiquette can feel like a maze, but there are some clear basics that make it easier for everyone. This article covers what info to include, when to send your invites, and how to handle special cases like plus-ones and RSVP deadlines. Whether you're planning a fancy event or a casual backyard celebration, these practical tips help your guests feel welcome and avoid common mistakes. You'll also pick up surprising facts, like how early 'save-the-dates' became popular and why wording matters more than you'd think. Get ready to send invitations that set a friendly tone and keep everyone in the loop.
Read more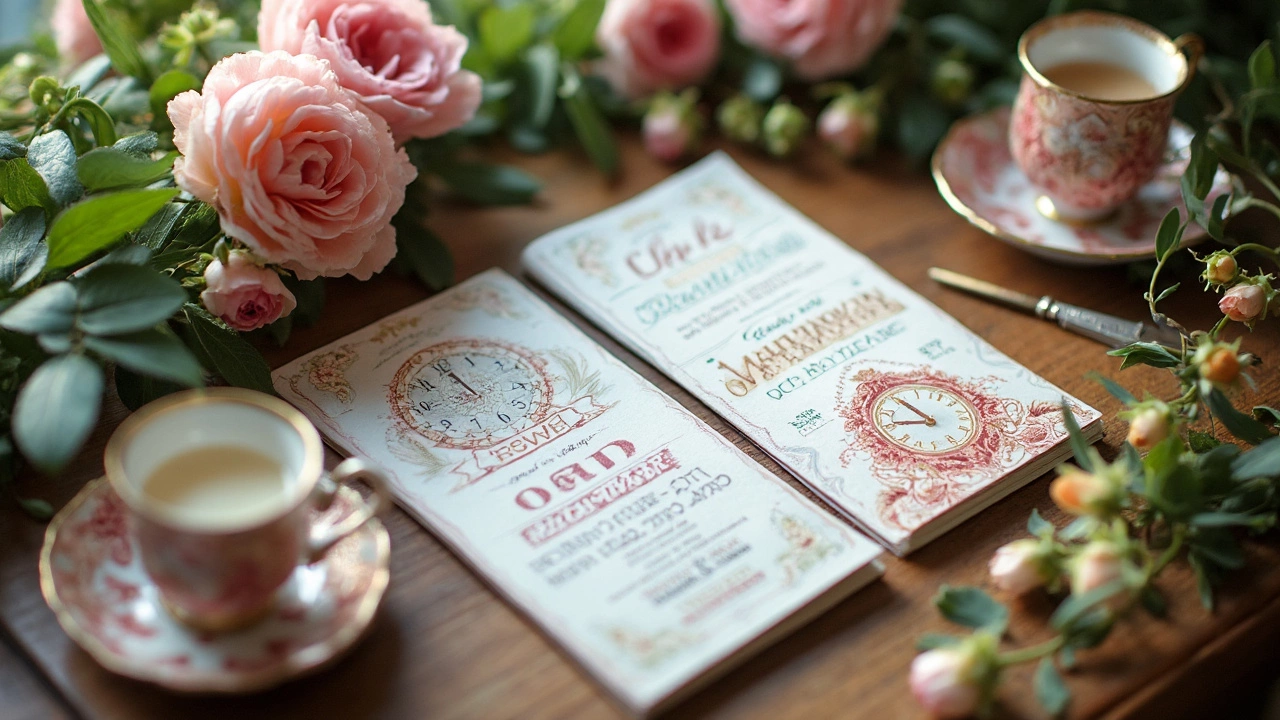
How Much Time to Give Guests to RSVP for a Wedding
Wondering how long to give guests to RSVP for your wedding? This article breaks down the ideal RSVP timeline, what can go wrong if the window is too short or too long, and shares tips to keep your guest list on track. Get practical advice to help you avoid last-minute stress and nail your headcount in time for every big deadline. Learn how to make responding easy for everyone, even your forgetful cousin. Your seating chart and caterer will thank you.
Read more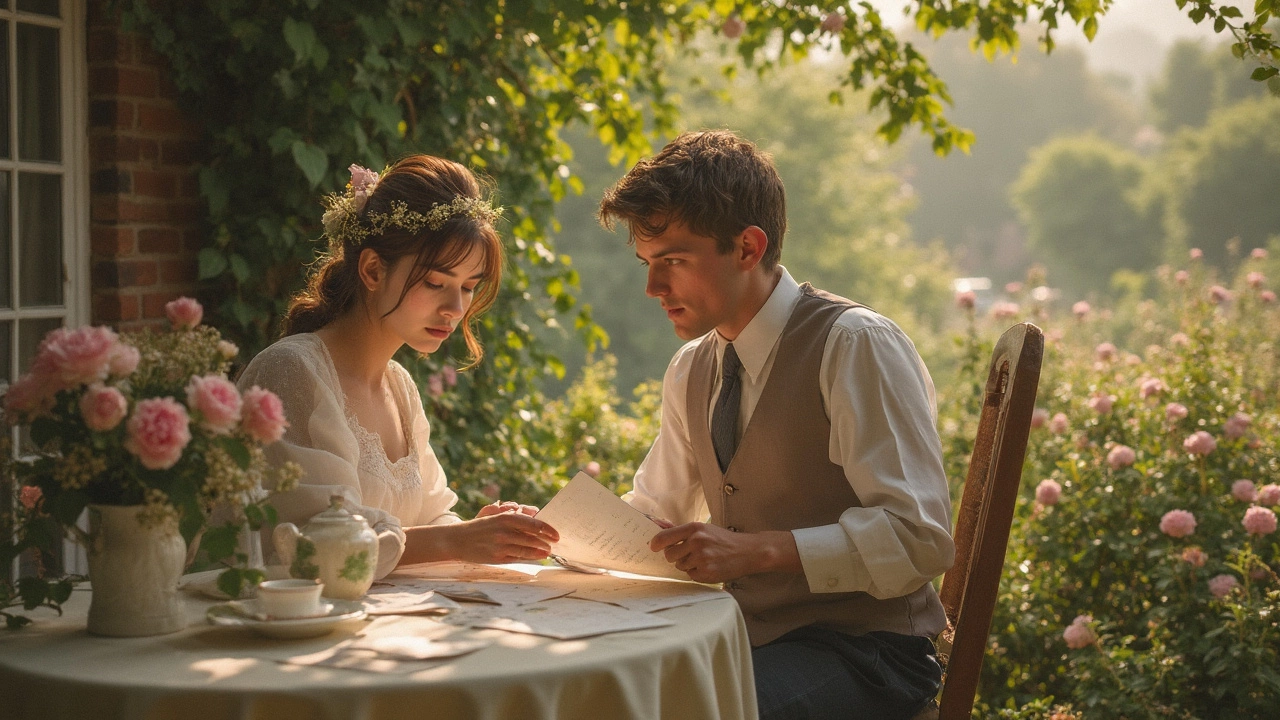
What is a Reasonable Amount to Spend on Wedding Invitations?
Planning a wedding involves numerous decisions, and determining a reasonable budget for invitations is crucial. Considering factors like design, printing methods, and additional features can significantly impact costs. Balancing aesthetics with budget constraints is key to making practical choices. This guide offers insights into what you might expect to spend and provides tips to help manage expenses while still achieving beautiful results.
Read more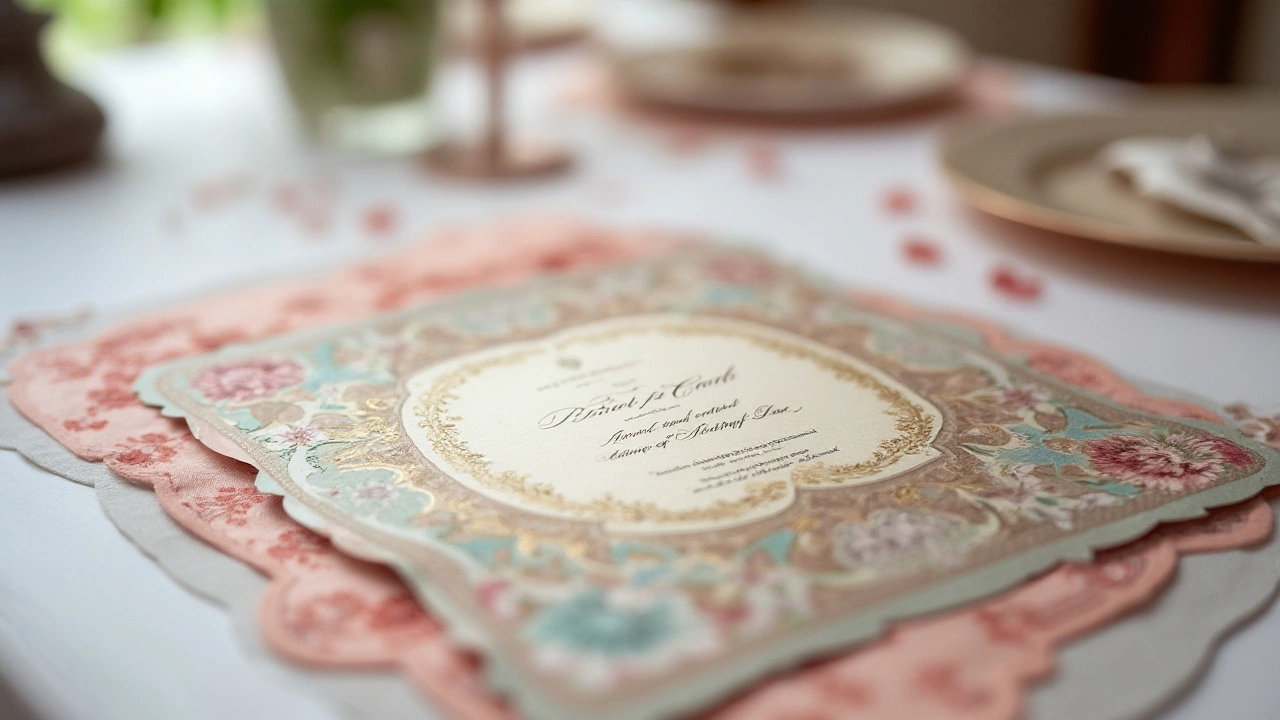
Choosing the Perfect Color for Wedding Invitations: A Guide
Selecting the right color for wedding invitations is crucial as it sets the tone and theme of the entire event. The color choice should reflect the couple's personality and the overall ambiance they wish to create. This guide explores traditional and modern color options, the symbolic meanings behind various hues, and essential tips for matching invitations with wedding themes. Dive into the art of choosing colors that not only look beautiful but also convey the story of your special day.
Read more